Current Price: $119 On Amazon
Best For: Beginners learning to sew
Why buy it:
- 6 built-in stitches including buttonhole and scallop
- Comes with zipper foot, buttonhole foot, and darning plate
- More complete accessories kit straight out of the box
- Grows with you as your sewing skills improve
Current Price: $104 On Amazon
Best For: Quick repairs & mending
Why buy it:
- Lightest machine in its class at just 5.5 lbs
- Fastest setup — drop-in bobbin, sew in minutes
- Perfect for hemming, patching, and fixing seams
- Ideal for dorms, travel, and small spaces
Introduction
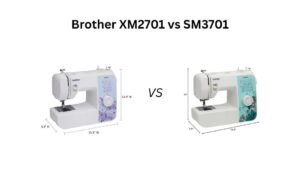
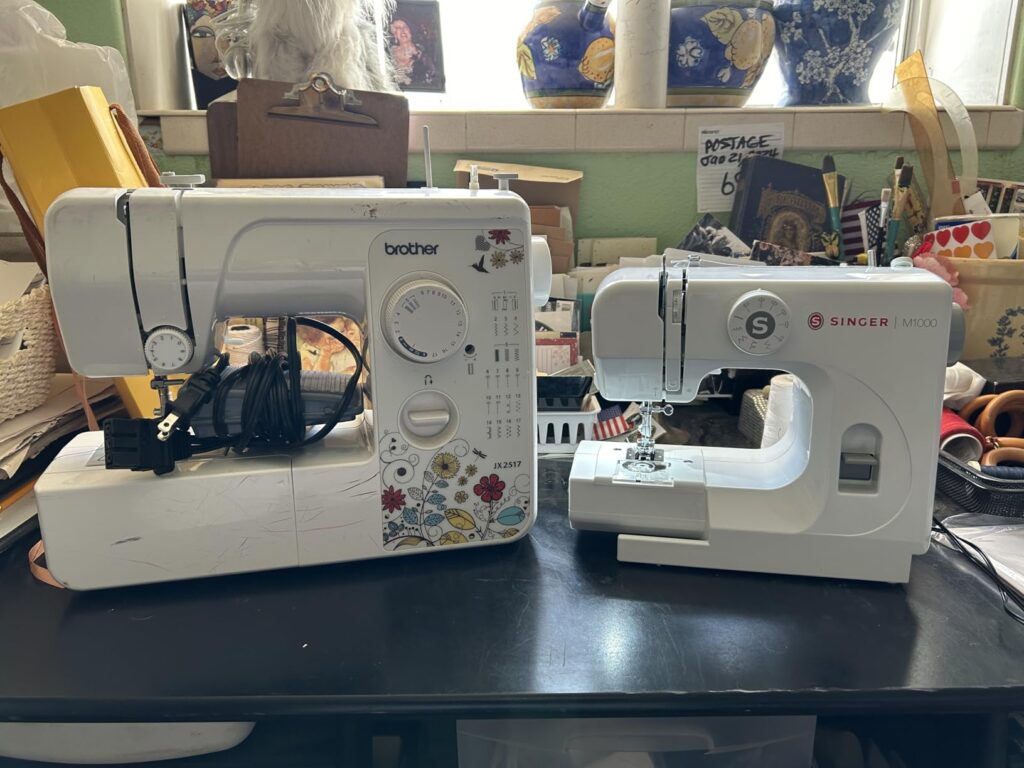
If you ask me to pick two mending machines that have genuinely earned their place in my collection, the Singer M1000 and M1500 are right at the top of that list.
I’ve been using both of these machines for months now. Side by side. On real projects. Real fabrics. Real frustrations. And I’ll be honest — I went in expecting the M1500 to be the obvious winner simply because it costs more and has more stitches on paper. I was wrong about that. Not completely, but enough that it changed how I’d recommend either machine to someone.
Here’s what you’re not going to get in this article: the usual “M1500 has 57 stitch applications vs the M1000’s 32, so it must be better” comparison. That kind of surface-level breakdown doesn’t help you decide anything. It just restates the product listing.
What you are going to get is how these two machines actually perform in real life — what surprises you the first time you use them, what frustrates you after a few weeks, where each one genuinely shines, and where it quietly lets you down.
By the end of this, you’ll know exactly which one belongs in your hands — and why.
Table of Contents
Quick TL;DR:
The M1000 ($104) is a no-fuss mending machine — light, simple, and great for quick fixes. The M1500 ($119) is a true beginner’s sewing machine with more stitches, better accessories, and room to grow. If you just want to repair clothes, get the M1000. If you want to actually learn to sew, spend the extra $15 and get the M1500.
At-a-glance: Singer M1000 vs M1500
| Features | Singer M1000 | Singer M1500 |
|---|---|---|
| Best For | Mending & repairs | Beginner sewing & crafts |
| Weight | 5.5 lbs | Beginner sewing & crafts |
| Built-in Stitches | 4 | 6 |
| Stitch Applications | 32 | 57 |
| Bobbin Type | Top drop-in | Front-loading |
| Variable Speed Pedal | ❌ | ✅ |
| Buttonhole | ❌ | ✅ 4-step |
| Zipper Foot Included | ❌ | ✅ |
| Auto Needle Threader | ❌ | ❌ |
| Where To Buy | Check On Amazon | Check On Amazon |
What Singer Says vs. What the Machines Actually Are?
I want to be upfront about something before diving into the differences.
When Singer calls the M1000 a “mending machine,” they mean it. This isn’t just a marketing label to make it sound specialized. It’s genuinely built for one thing — quick fixes. Hemming pants, fixing a split seam, patching a hole. That’s its world, and inside that world, it does a solid job.
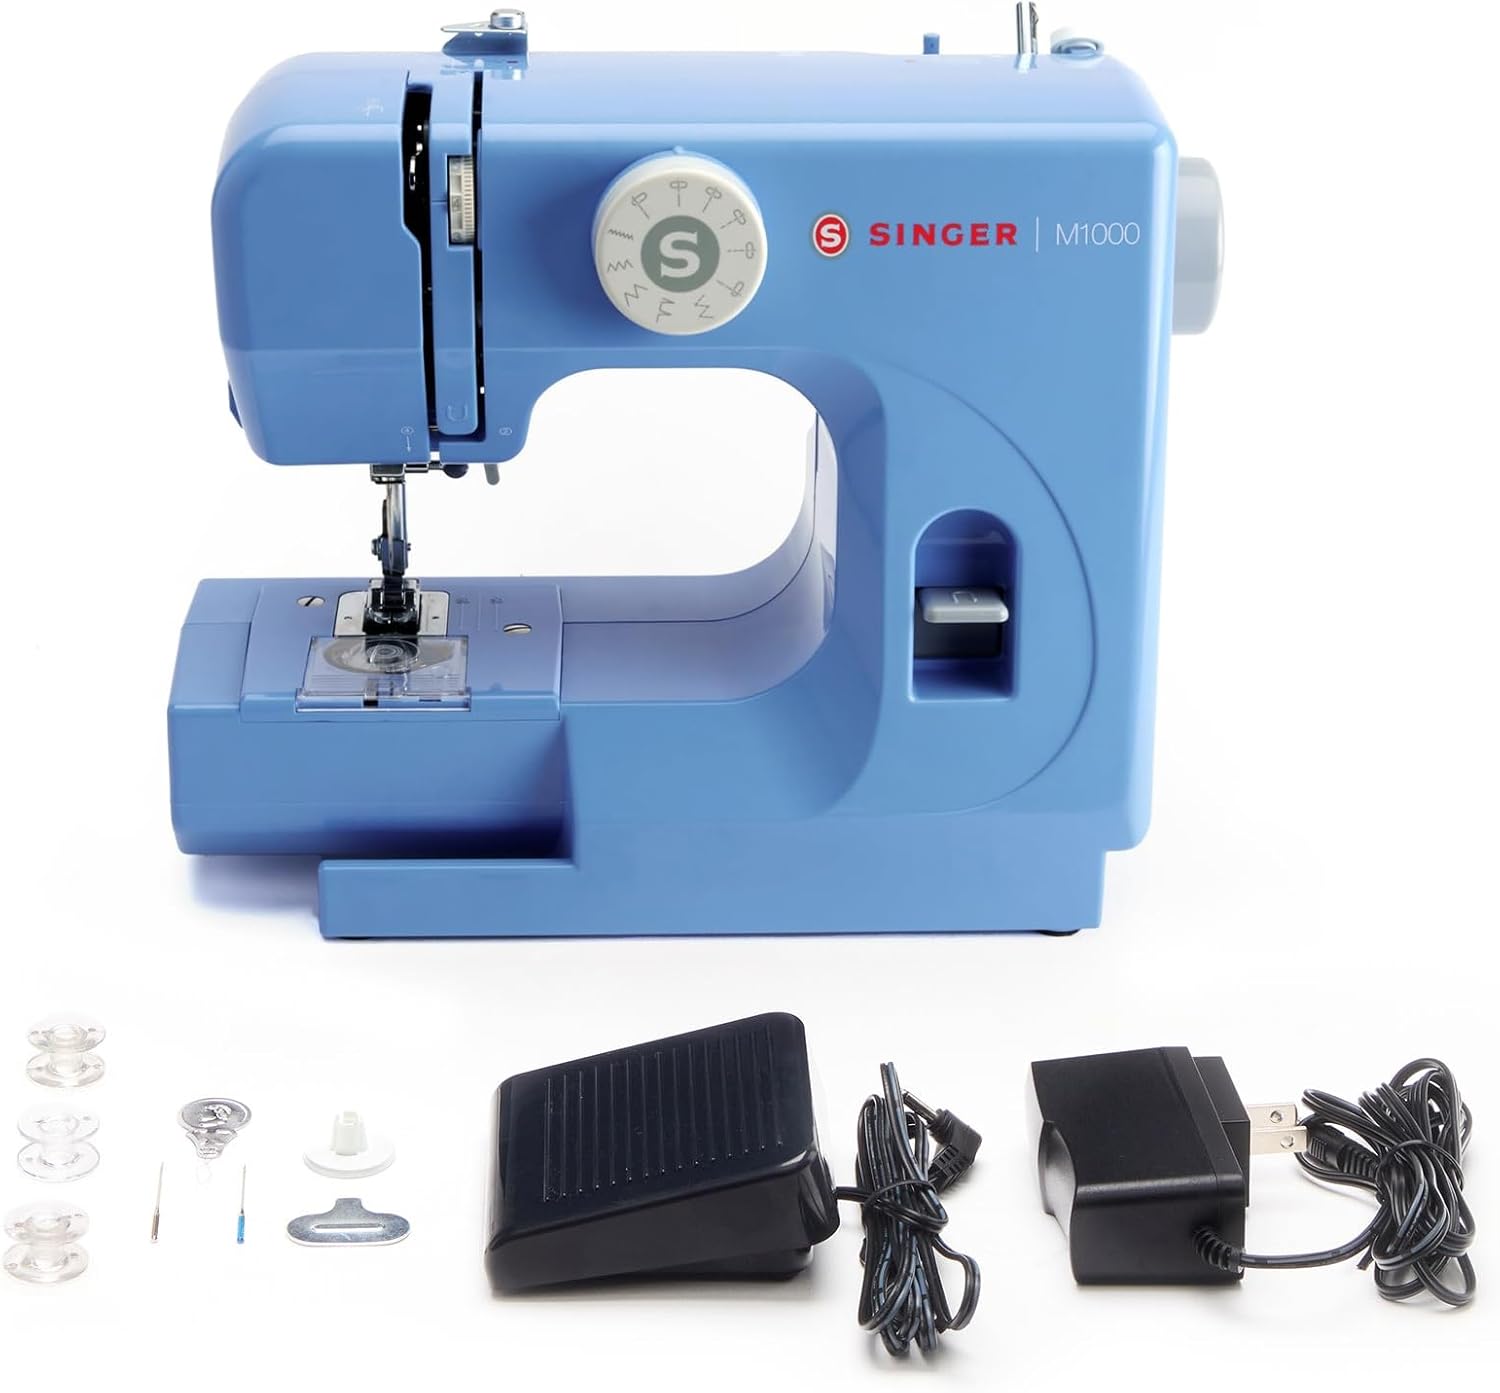
I picked it up the first time and was genuinely surprised by how light it felt. At 5.5 lbs, it’s lighter than most laptops. I’ve moved it from my desk to the kitchen table to a bag without a second thought. Setup takes minutes. The top drop-in bobbin clicks in easily, and you can see the thread level through the clear cover without opening anything. Threading is straightforward — the path is marked right on the machine.
It has 4 built-in stitches: straight, zigzag, blind hem, and multi-step zigzag. Singer calls these 32 “stitch applications” on the box, which sounds impressive until you realize that’s just different length and width combinations of the same 4 stitches. You’re turning a dial, not switching between 32 different patterns. Worth knowing before you buy.
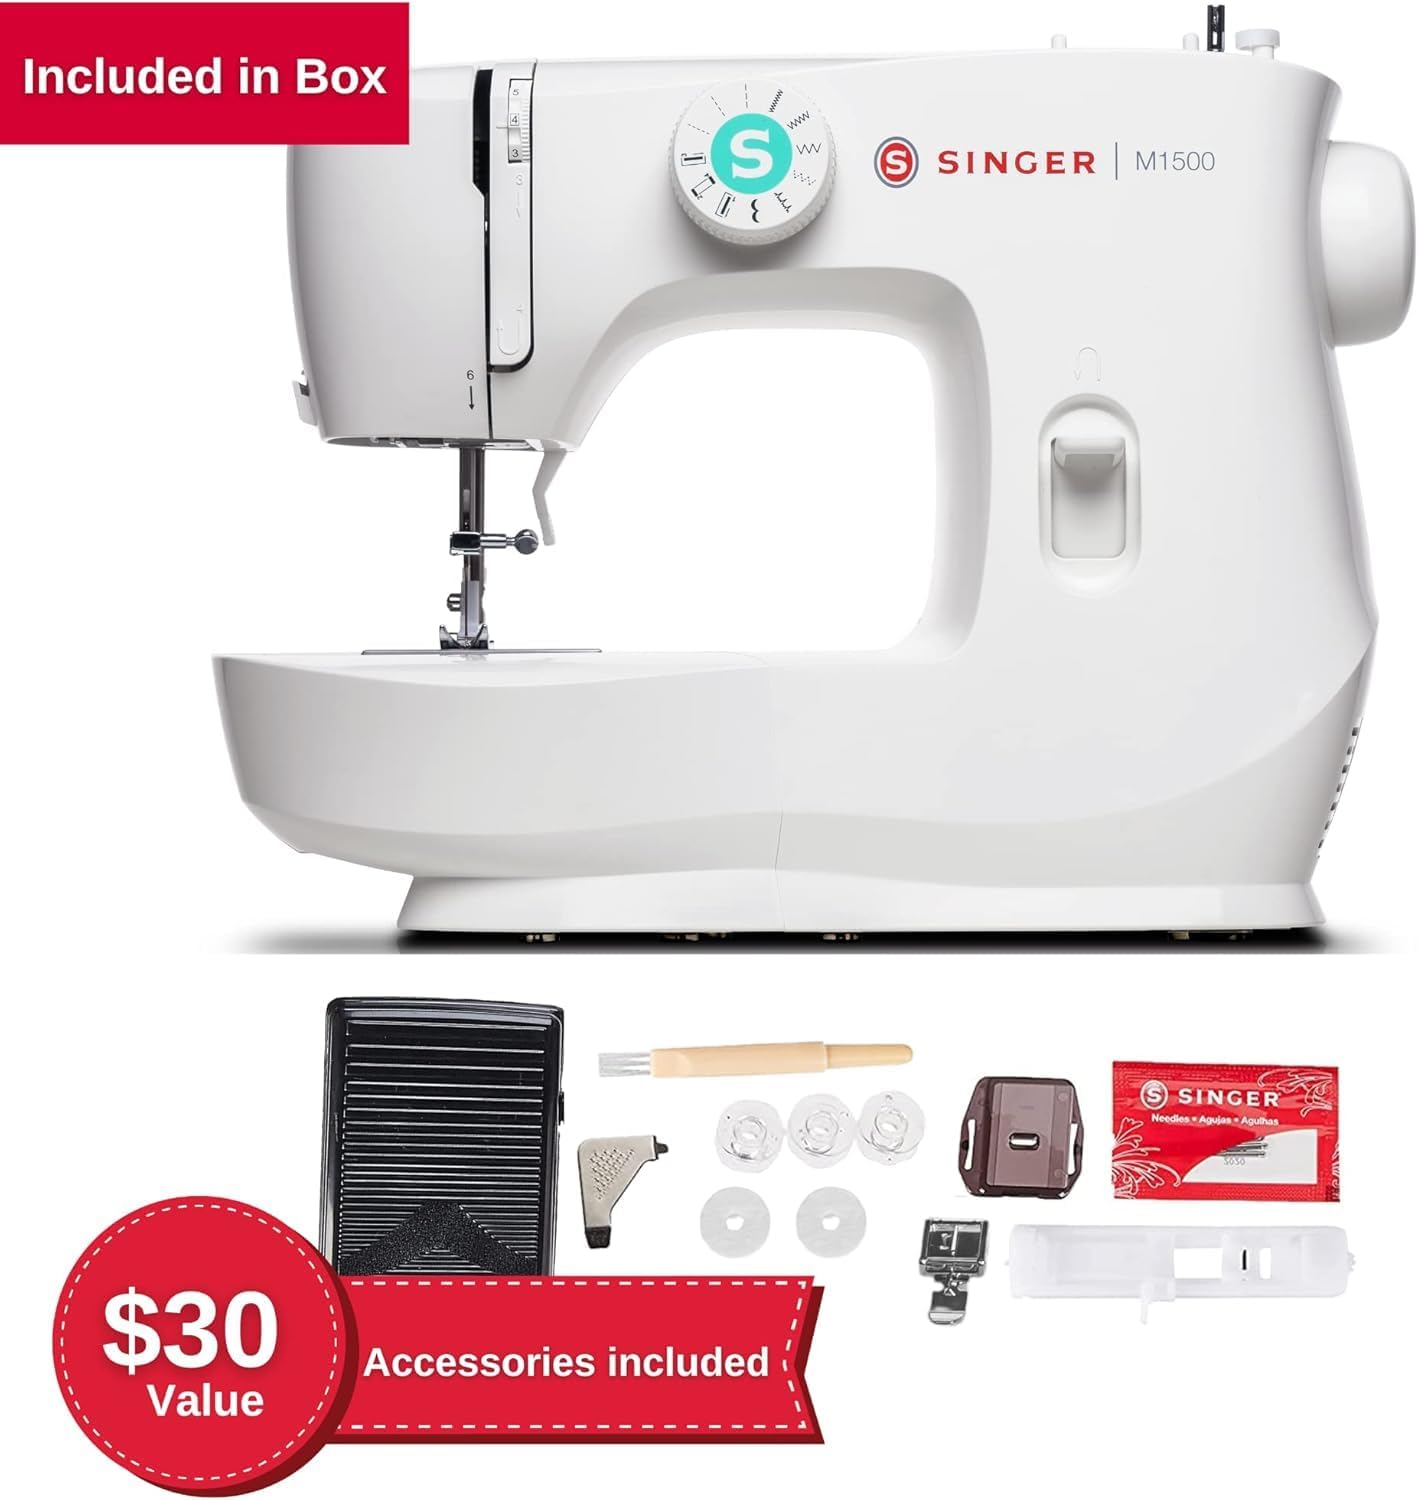
The M1500 is a different proposition. Singer built it for beginners who want to actually learn to sew — not just mend, but make things. It has 6 built-in stitches, adding a scallop stitch and a 4-step buttonhole to everything the M1000 already has. Singer presents these as 57 stitch applications, same counting logic as before.
At around 9.7 lbs, it’s noticeably heavier. The first time I picked up the M1500 after using the M1000 for a while, the weight difference was immediately obvious. It’s not heavy by normal standards, but it’s not something I’d casually toss in a bag for a trip. It’s more of a “sits on the table” machine than a “goes where I go” machine.
It also comes with more in the box — a zipper foot, a 4-step buttonhole foot, a seam ripper, and a darning plate. The M1000 keeps it minimal.
Now, neither of them is built for heavy fabrics. I tried pushing the M1000 through a thick denim hem once — the motor struggled, the needle slowed, and I backed off. Same story with the M1500 on multiple layers of canvas. Both machines are rated for light to medium-weight fabrics, and that rating is real. If you need to regularly sew through thick denim, upholstery, or heavy canvas, neither machine will hold up, and you’d be better served by something like the Singer Heavy Duty 4423.
But for what they’re actually designed to do? The differences between these two are real and worth understanding.
The M1000’s Hidden Trap: The Foot Pedal Is On/Off Only
The first time I pressed the foot pedal on the M1000 I expected it to work like most sewing machines — press lightly, go slow. Press harder, go faster. That’s how foot pedals work, right?
Not on the M1000.
The moment my foot touched that pedal, the machine took off at full speed. No ramp up. No control. Just — go. I lifted my foot immediately out of pure surprise. The M1000’s foot pedal is not a speed controller. It’s an on/off switch. The machine has one speed: full. You either press it and it runs, or you don’t and it stops. There is no in between.
Once I understood that, I adjusted. For straight hems on a simple cotton fabric? Honestly fine. The fixed speed is steady and manageable on flat, straightforward work. I hemmed a pair of jeans and patched a jacket pocket without any real issue once I stopped expecting variable control.
But the second I hit a corner — trying to pivot the fabric to turn a seam — things got messy. The machine doesn’t care that you want to slow down and reposition. It runs at its pace. I ended up with crooked corners more than once before I learned to stop the machine completely, reposition by hand, and then start again. It’s a rhythm you develop, but it takes time to get there.
The second surprise caught me even more off guard.
When you lift your foot and the M1000 stops, the needle stays exactly where it is — wherever that happens to be in its cycle. Sometimes up, sometimes halfway down, sometimes buried in the fabric. It does not automatically park itself in the up or down position the way most modern machines do.
What this means in practice: every time you stop to reposition your fabric, you have to manually turn the handwheel on the right side of the machine to raise the needle first. Every single time. On a long hemming session, that adds up. It breaks your flow constantly until it becomes second nature.
Neither of these things appears anywhere prominent in the product listing. I had to discover them myself. And if you read other comparison articles on this machine, most either skip these entirely or mention them in a single throwaway sentence buried near the bottom.
These aren’t defects. The M1000 is designed this way deliberately — it keeps the machine simple and the price low. But knowing about them before you buy is completely different from discovering them mid-project.
The M1500’s Hidden Trap: The Front-Load Bobbin Has a Steep Learning Curve
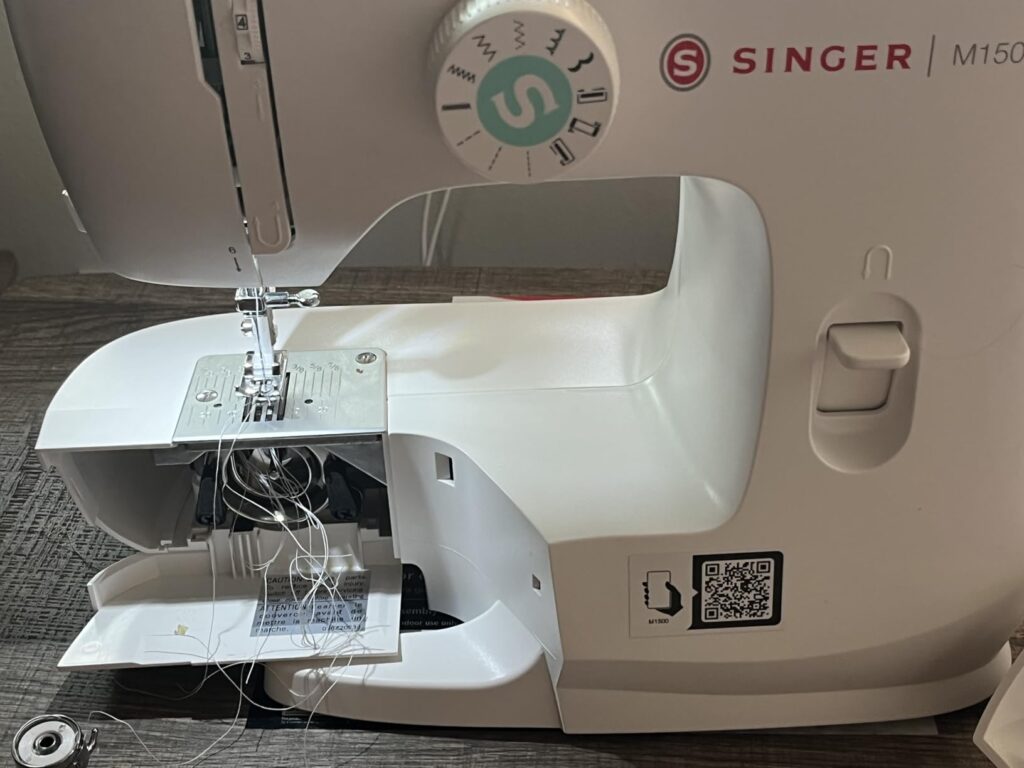
The M1500 looks approachable. Clean design, clearly labeled controls, nice LED light. You unbox it, follow the setup guide, load the bobbin, thread the needle — and then press the pedal expecting your first stitch.
Instead, you get a bird’s nest of tangled thread underneath your fabric. Or the machine clunks and jams. Or nothing happens at all because the upper thread never caught the bobbin thread in the first place.
This was my experience the first time. And based on everything I’ve read from other M1500 owners, I was far from alone.
The culprit is the bobbin system.
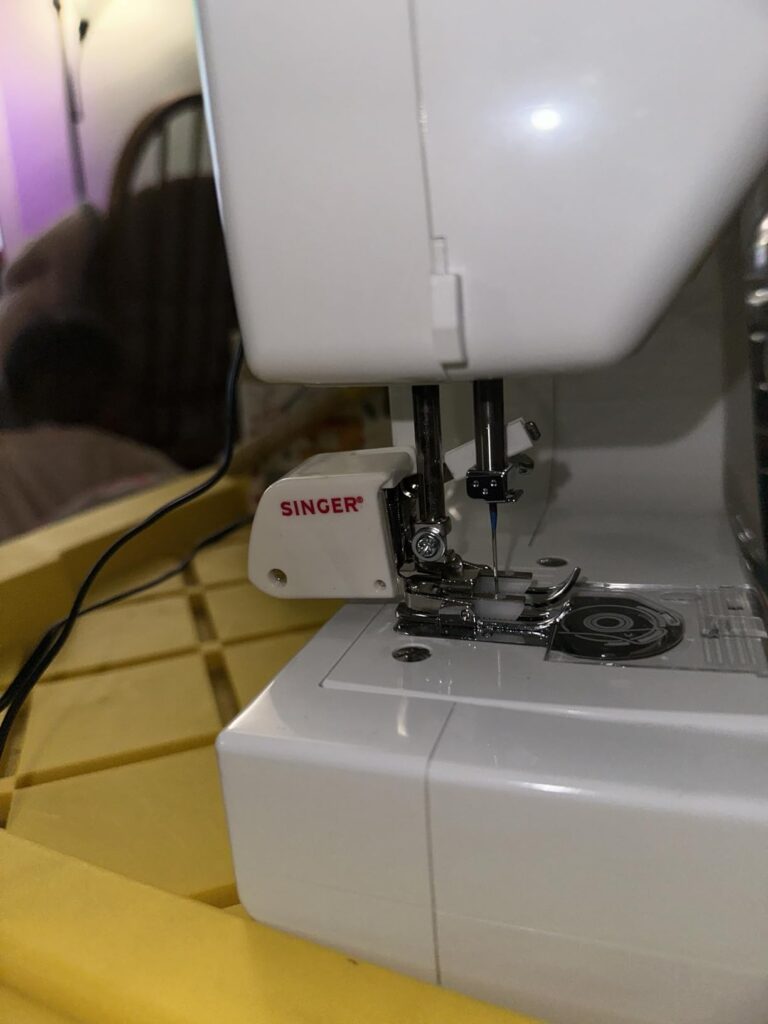
Unlike the M1000’s top drop-in bobbin — where you literally just drop the bobbin in and pull the thread through a slot — the M1500 uses a front-loading bobbin. There’s a small door on the front left side of the machine. Behind it sits a bobbin case. You wind your thread onto the bobbin, place the bobbin into the case, thread it through a small tension spring, then seat the entire case back into the machine at exactly the right angle and orientation.
Sounds manageable. In practice, it’s fussier than it sounds.
The orientation has to be precise. The case has to click in snugly — not almost snugly, not close enough. Snugly. If it’s even slightly off, the upper thread won’t catch the bobbin thread when the needle goes down. You’ll get tangles, jams, or just skipped stitches with no obvious explanation.
I spent a frustrating 20 minutes on my first session figuring out what I was doing wrong. I rethreaded the upper thread twice. I reseated the bobbin case three times. Eventually it worked — and once I understood the correct feel of a properly seated case, I never had that problem again. But that learning curve on day one, with a brand new machine, is genuinely discouraging if you don’t know it’s coming.
The fix, once you know it, is simple: always thread the upper thread with the presser foot raised, make sure the bobbin thread is oriented correctly in the tension spring, and press the case in until you feel it actually click. Clean the hook area regularly so lint doesn’t block the thread path.
But here’s the problem. Singer markets the M1500 as “beginner-friendly.” And for a true beginner who has never loaded any kind of bobbin before — no prior reference point, no muscle memory — the front-load system is the single biggest contradiction to that claim. It’s not a dealbreaker once you learn it. But it is a wall you have to get over first.
To be completely fair to both machines: none of this makes either one defective. The M1000’s on/off pedal and the M1500’s front-load bobbin are deliberate design decisions, not manufacturing problems. The M1000 stays simple and lightweight by skipping variable speed. The M1500’s front-load bobbin, once mastered, actually handles thread tension more consistently than a drop-in system.
The Features That Actually Matter (And the Ones That Don’t)
Stitch Count: 32 vs. 57 — The Number Singer Doesn’t Want You To Understand
When I first looked at both machines, the 32 vs. 57 stitch applications gap made the M1500 look like a completely different machine. Then I actually used both and understood what Singer is counting — and the gap is much smaller than it appears.
The M1000 has 4 built-in stitches. That’s it. Straight, zigzag, blind hem, and multi-step zigzag. Singer counts every combination of length and width settings across those 4 stitches as separate “applications.” So the same straight stitch, set to three different lengths, becomes three applications. Same stitch. Different dial position.
The M1500 has 6 built-in stitches. The two it adds over the M1000 are a decorative scallop stitch and a 4-step buttonhole.
In months of using both machines, I used the straight stitch and zigzag almost exclusively on both. Those two stitches handle 90% of everyday sewing tasks — and both machines have them.
The scallop stitch on the M1500 is genuinely fun if you’re making crafts or want decorative edges on fabric projects. The buttonhole function matters if you’re making garments with actual buttons — though the 4-step process requires four separate passes with a specific foot, and takes some getting used to.
If your goal is repairs and mending, you will never miss those two extra stitches. If you want to make things from scratch, they give you real flexibility.
Don’t let the 32-vs-57 number decide this for you. Count the actual stitches — 4 versus 6 — and ask which ones you’d genuinely use.
Accessories In the Box
This is a genuine, overlooked difference. The M1000 comes with: an all-purpose presser foot, bobbins, foot control, power cord, needle set, screwdriver, and needle threader.
The M1500 comes with: an all-purpose foot, zipper foot, 4-step buttonhole foot, needle set, seam ripper/lint brush, screwdriver, extra bobbins, spool pin felt, and darning plate.
If you ever plan to sew a zipper — on a pillow cover, a bag, a garment — the M1500 already has the foot for it. The M1000 doesn’t include one, and adding a zipper foot later costs extra. This is a small but real practical advantage for the M1500.
One Thing Neither Machine Has (That Everyone Wishes They Did)
No automatic needle threader. On either machine.
Threading a needle by hand sounds trivial until you’re doing it repeatedly under a dim LED, squinting at a tiny eye. Both machines have a manual needle threader tool included, but these are the little hook-style tools that require practice to use without bending or breaking.
If an automatic needle threader is something you’d genuinely value, neither machine solves that problem. The nearest Singer model that includes it is the Singer M3300.
So Which One Should You Actually Buy?
Buy the Singer M1000 ($104) If:
- You just want to fix things, not learn to sew. Fallen button, split seam, pants that are too long — the M1000 handles all of it without any fuss. It’s built exactly for this and does it well.
- You want the fastest setup possible. Drop in the bobbin, thread the needle, sew. There’s almost no learning curve if your projects are simple and straightforward.
- You need something truly portable. At 5.5 lbs, this machine goes in a bag without a second thought. Dorm room, sewing class, travel, small apartment — the M1000 fits every space and moves with you in a way the M1500 simply doesn’t.
- You’re buying it for occasional use. If the machine is going to sit in a drawer most of the year and come out for a repair every few weeks, spending more on the M1500 makes no sense. The M1000 is ready when you need it and out of the way when you don’t.
Current Price: $104 On Amazon
Best For: Quick repairs & mending
Why buy it:
- Lightest machine in its class at just 5.5 lbs
- Fastest setup — drop-in bobbin, sew in minutes
- Perfect for hemming, patching, and fixing seams
- Ideal for dorms, travel, and small spaces
Buy the Singer M1500 ($119) If:
- You actually want to learn to sew, not just mend. The M1500 gives you room to grow. Buttonholes, decorative stitches, zipper projects — these become possible in a way they simply aren’t on the M1000.
- You’re a beginner who can handle a short learning curve upfront. Yes, the front-load bobbin takes time to master. But once it clicks, you’ll have a machine that runs more consistently and handles a wider range of projects.
- You’re buying it as a gift for someone who wants to sew as a hobby. The fuller accessories kit, the extra stitches, and the more complete feature set make the M1500 a much better long-term companion than the M1000 for anyone who wants to grow.
- You plan to sew zippers, buttonholes, or decorative edges. These aren’t hypothetical future features — the M1500 comes with the feet and stitches you need for these projects right out of the box.
- You sew at home at a dedicated spot. If the machine stays on a table rather than getting packed and moved constantly, the extra weight doesn’t matter — but the extra capability very much does.
Current Price: $119 On Amazon
Best For: Beginners learning to sew
Why buy it:
- 6 built-in stitches including buttonhole and scallop
- Comes with zipper foot, buttonhole foot, and darning plate
- More complete accessories kit straight out of the box
- Grows with you as your sewing skills improve
Final Verdict
Singer M1000 and M1500 are not really competing with each other. They just happen to sit next to each other on Amazon.
The M1000 is a mending tool. A really good one. Light, simple, ready in minutes. If your relationship with sewing is “fix it and forget it,” this is your machine.
The M1500 is a starter sewing machine. Not perfect — that front-load bobbin will test your patience in the first week — but once you’re past that wall, it opens doors the M1000 never will.
The $15 difference isn’t the decision. The decision is being honest with yourself about what you actually want to do. Fix things? M1000. Learn to sew and make things? M1500.
Either way, you’re not buying a bad machine. You’re buying the wrong one if you don’t know which situation you’re in — and now you do.
Related Articles:
FAQs
1. Can the Singer M1000 sew through denim?
Not reliably. It can handle a single layer of light denim, but thick seams or multiple layers will strain the motor and likely break the needle. For regular denim work, look at the Singer Heavy Duty 4423.
2. Is the Singer M1500 good for absolute beginners?
Yes — but with one warning. The front-load bobbin has a learning curve that catches most beginners off guard. Budget 20-30 minutes with scrap fabric before your first real project and you’ll be fine.
3. Does either machine have an automatic needle threader?
No. Both the M1000 and M1500 require manual needle threading. If an automatic threader matters to you, the Singer M3300 is the closest step up that includes one.
4. Is the $15 price difference between M1000 and M1500 worth it?
Depends entirely on your goal. For mending only — no. For learning to sew — absolutely yes. The M1500 gives you more stitches, more accessories, and more room to grow for just $15 more.
5. Which machine is better for a complete beginner with no sewing experience?
The M1000 if they only want to do repairs. The M1500 if they want to actually learn sewing as a skill. The M1000 is simpler to start but hits a ceiling fast. The M1500 takes more patience upfront but rewards you much more over time.